Microsoft Word is a great place to keep your to-do list. Its integrations with the rest of Microsoft Office let you link to any apps you might need. There are three ways to create checklists in Microsoft Word.
1. Use Dynamic Checkboxes
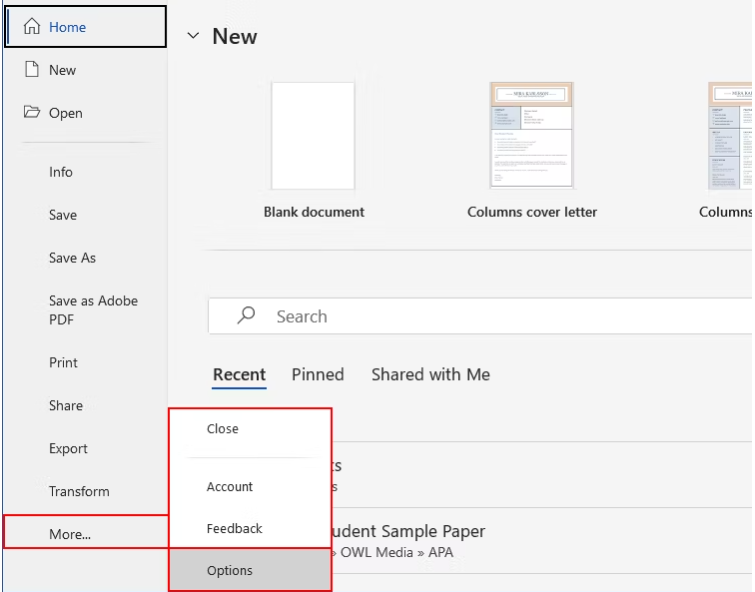
The Desktop version of Microsoft Word includes a checkbox that you can toggle on and off. To enable it, go to File > Options > Customize Ribbon.
Then, check Developer in the right-hand list. You may need to scroll down to find it.
With the Developer tab enabled, write your list items in the document. Put each one on a different line. Lastly, open the Developer tab and click on the Checkbox button.
Make sure the cursor is set where you want the box to appear. Once you’ve added the first one, you can copy and paste it. Click a checkbox to toggle it.
For macOS, go to Word > Preferences to open the Word settings window. You can also use the keyboard shortcut “Command + ,”. Then, in the Ribbon & Toolbar section, check the box next to Developer under the “Main Tabs” list.
You can change the checkbox style to look different. Select the checkbox and then choose Properties from the Developer tab.
At the bottom of the dialogue window, you will see options to Change the Checked and Unchecked symbols. You can select from Microsoft’s library of symbols, or import your own.
2. Use Custom Bullets
Word can also make pen-and-paper checklists for you. Create a printable checklist using bulleted lists. There are lots of ways to customize a list in Word, but in this case, we only want to change the symbol.
Start by writing your list items, with each one on a new line. Then select them and open the bulleted list dropdown menu. Select Define New Bullet.
In the Define New Bullet dialogue, you can select symbols, pictures, or font characters. After selecting, you can change the size using the Increase Font Size option in the Home tab.
3. Use Tables
If you want to print the checklist, you’re done. If you want to use it on your computer, there is one more step.
For digital use, you can choose shorthand symbols. Click outside the table and paste in the symbols you want to use. Make a note of what each one means. You could search through Word’s menu, but it’s simpler to copy and paste from a library like Unicode Table.
Now you can copy and paste the appropriate symbol into your task list. This is much faster and more consistent than recording progress with typed words.
Organize Your Tasks in Microsoft Word
Checklists are a simple and intuitive way to track your tasks. If you use Microsoft Office, storing your to-do list in Word is not your only option. Microsoft OneNote also has tons of options for managing your tasks!


No comments:
Post a Comment